VBA for Excel Lesson 2: The Project Window in the Visual Basic Editor of Excel
This is an excerpt from Pierre Leclerc (www.excel-vba.com)
Note: Print this page, open Excel and a open a new workbook. Use ALT/F11 to open the Visual Basic Editor as you learned in lesson 1.
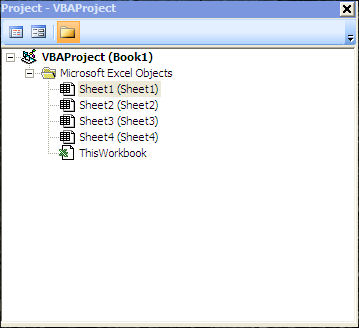
As you can see, the Project window shows you all the workbooks that are open ("Book1") in the example below) and their components. You can use the + and - signs to show the details.
A new Excel workbook includes three sheets and another component named "ThisWorkbook". As we will see later in lesson 9 on events "ThisWorkbook" is a component in which you will store the macros ( also called VBA procedures) that should start automatically when the workbook is opened.
Working within the Project Window
We will now complete a brief exercise to learn how easy it is to work within the Project Window.
Exercise 2 (Create your first macro and use it)
Step 1: Using the ALT/F11 key go back to Excel.
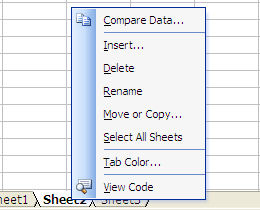
Step 2: Add a sheet. Right-click on the tab of Sheet2 and select "Insert".
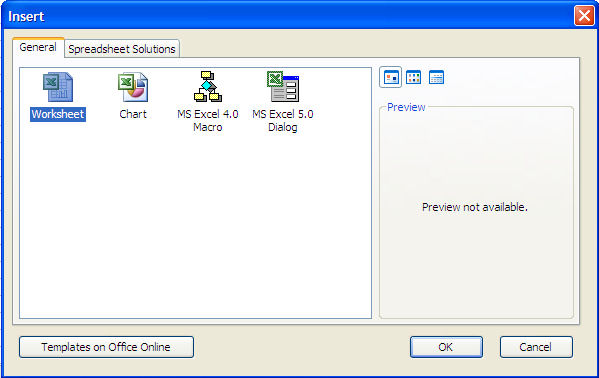
Step 3: In the dialog window that appears, click on "OK".
Step 4: Using the "ALT/F11" key, go back to the Visual Basic Editor and see that a sheet has been added to the workbook. Notice that the worksheets are sorted alphabetically in the Project window even if they are not in the workbook.
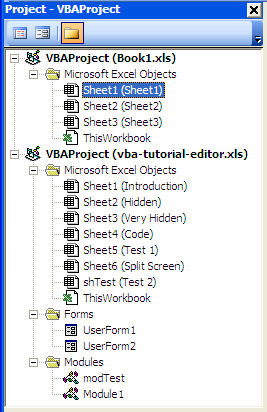
In the picture above you can see that the VBAProject named "Book1.xls" has 3 sheets and ThisWorkbook. The workbook "vba-tutorial-editor.xls" has 7 sheets, two userforms, two modules plus the "ThisWorkbook" object.
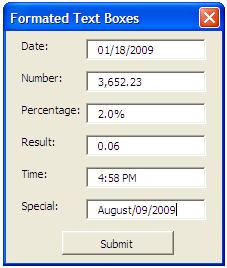
- Userforms are dialog windows (see example image below) that you develop to communicate with the users of your Excel programs and ask them to supply information or make choices.
- Modules are folders in which you save one or many of your macros. You can export and save these modules to be used later in other workbook.
In the complete lesson 2 you will learn how to add any type of components and how to remove, import, export and manage them from the Project window.
Close the VBE and close Excel without saving anything.
Go to the next lesson
Lesson 3: Properties Window in the Visual Basic Editor
 Back home